When I left off last night in Part 1, the dough was resting in the refrigerator. Tonight I’ll finish up by showing how the filling is made and how the pierogie comes together.
Peeling the potatoes…
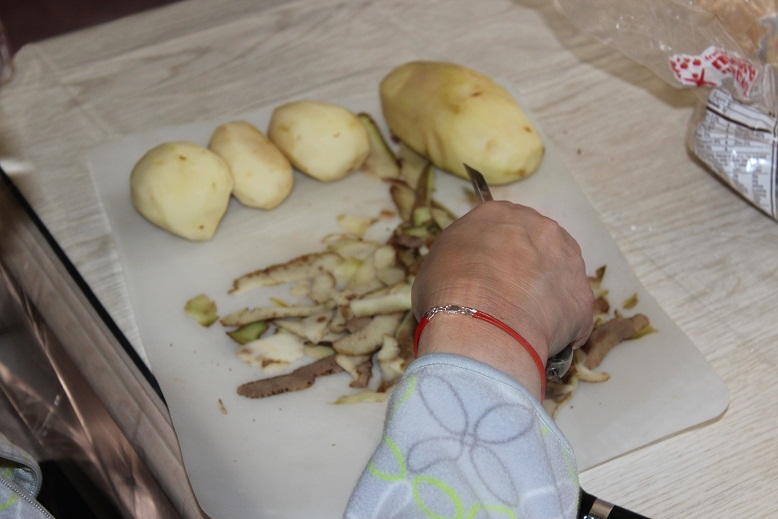 After they are peeled the potatoes are brought to a boil and cooked until soft. This is the good stuff that goes into them.
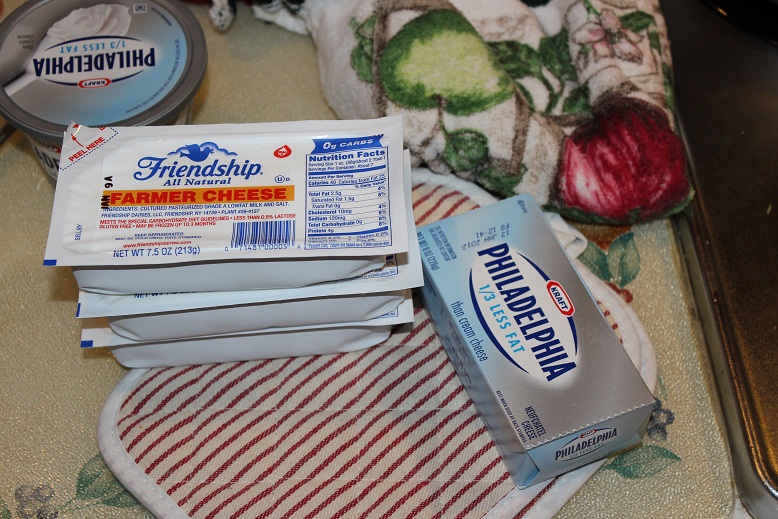 The Farmers cheese, cream cheese (I don’t know what the heck is with the 1/3 less fat stuff. There is a pound of butter simmering just out of the picture.), and some of the butter and onion mixture gets mashed into the drained potatoes.
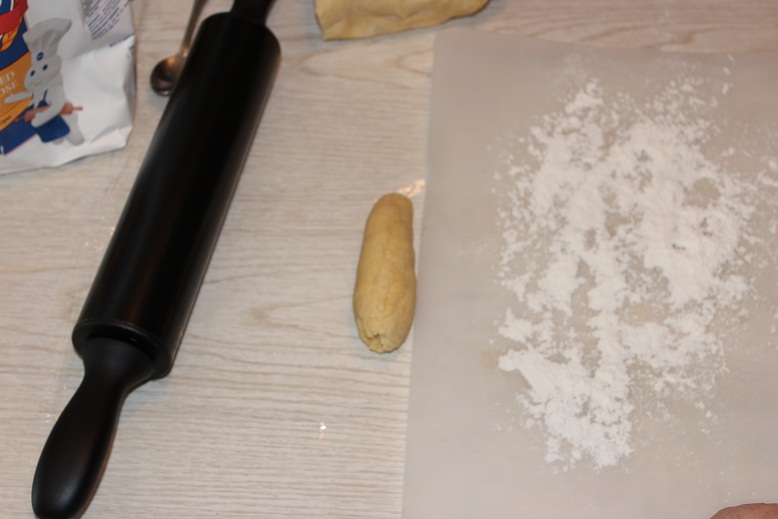
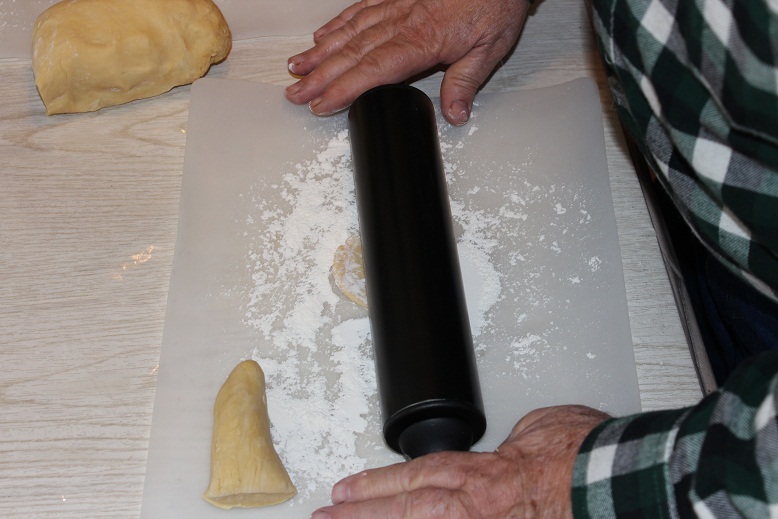
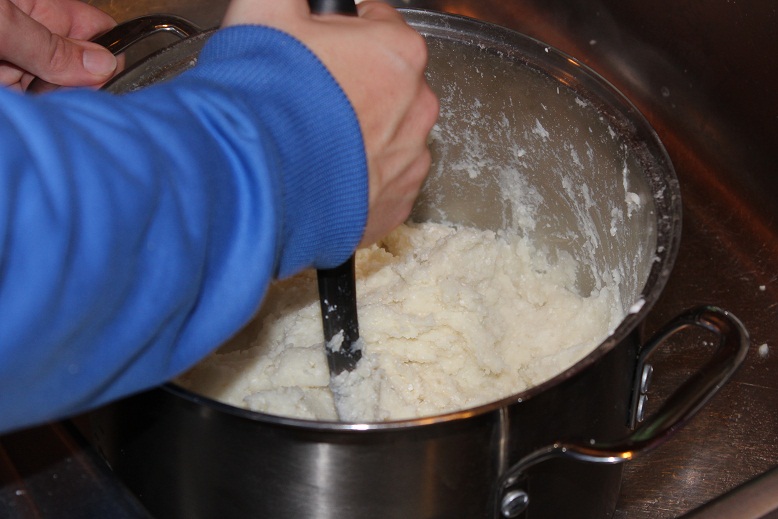 This finishes up the filling, now it is on to rolling out the dough and pinching (I owe an explanation on that). The dough is rolled into a rough log shape.
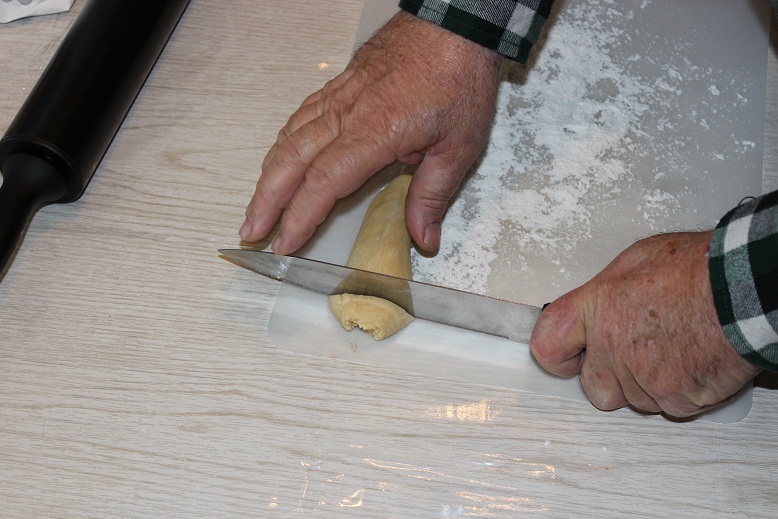 Roll these pieces into discs about 3″ wide.
 Now onto the actual pierogie making. The discs get filled with about 3-4Tbs of the potato and cheese mixture.
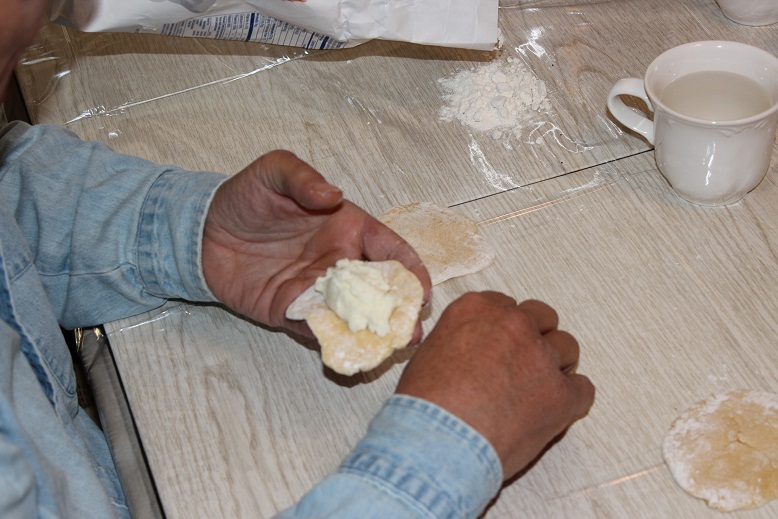 After putting in the mixture, you wet your finger with some water and wet the edge on one side of the dough. Fold it over and pinch away. You are trying for a water tight seal so the filling doesn’t leak out during the par-boiling. Now as a new addition to the pierogie making tradition I’ve noticed things that the rest of the family denies or chooses not to see. The pinchers are the galley slaves of the pierogie making world, I’m not staying one forever! My talents are clearly being wasted and I will move up the ladder. I’m shooting for Roller by 2015. They just get to hang out and complain about the quality of the dough. My Mother-in-Law has the real hard job. She is in charge of making the dough and the arcane world of par boiling. She does the real WORK (Yes, I’m sucking up)!!!
This is what a good pierogie looks like:
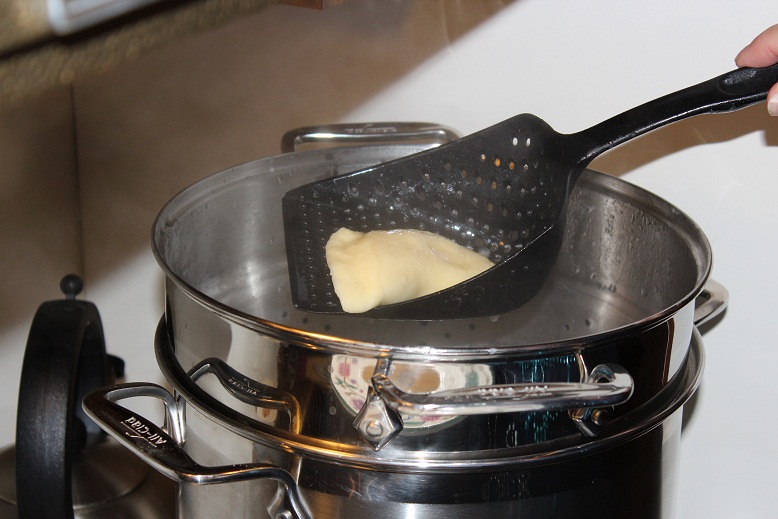
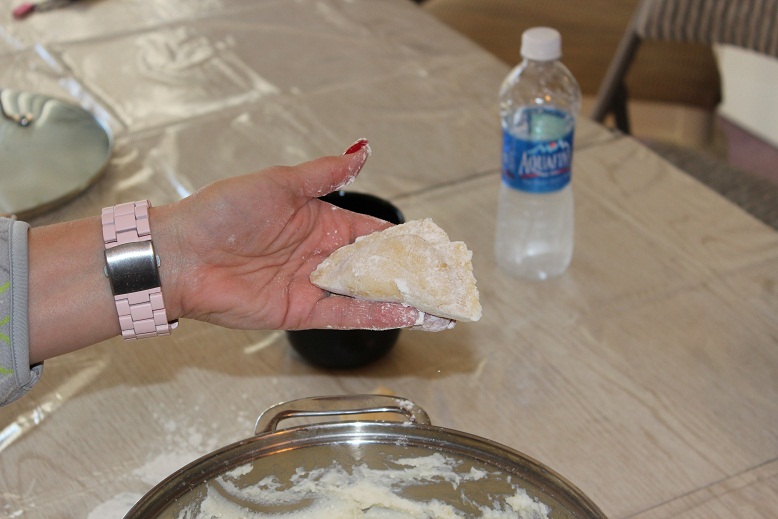 Working in batches the raw pierogies need to be par boiled. They stay in until they float and for a few more seconds. Apparently you need to be a Polish Grandmother or an Astro Physicist to determine when they are done (I’m neither, Roller here I come!).
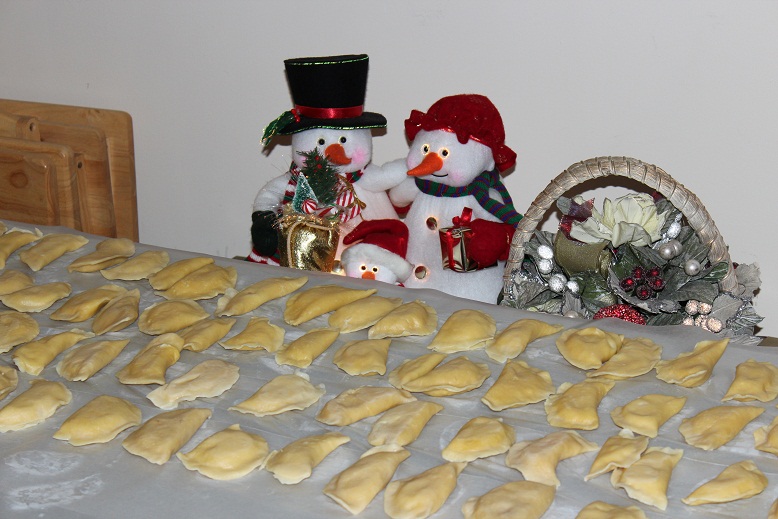
 The par boiled pierogies need to be laid out on waxed paper to dry.
 The best part about Pierogie day is getting to taste test!
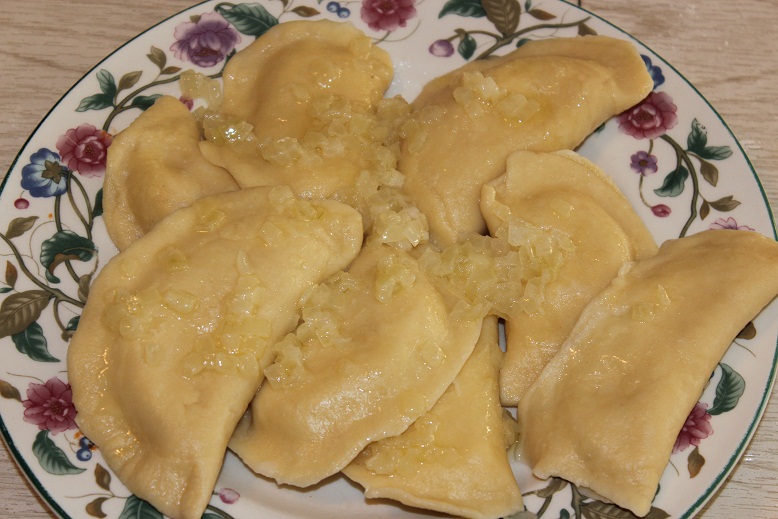 The rest of the pierogies get frozen until Christmas. It is a long 2 weeks waiting to have them again! I hope everybody has a Merry Christmas!!!
Don’t forget that there is still a few days to sign up to win this week’s giveaway.
[subscribe2]
Affiliate Disclosure: I am grateful to be of service and bring you content free of charge. In order to do this, please note that when you click links and purchase items, in most (not all) cases I will receive a referral commission. Your support in purchasing through these links enables me to keep the content train rolling



Great documentary; what is with the 1/3 less fat?? I think that is what they were missing this year the rest of the fat…..
P.S. – You’ve got a long time to wait until you are a roller but I guess one can dream….
Says the Eternal Pincher 🙂
Hehe, I love this line:
” Apparently you need to be a Polish Grandmother or an Astro Physicist to determine when they are done.”
I married into a Polish family and completely sympathize. What the heck is Lekvar?!? (no, not really, but wow is that a weird one!)
They are a loveable bunch though and the food is good!